Tests of a 6.0" x 0.8" quartz disk
by Michael E. Lockwood
Earlier this summer a seller of quartz disks offered to give a 6"
diameter disk to anyone who would test it and post results. I
thought this would be an interesting piece to test by various methods.
I sent the seller
a note and offered to perform some tests. The seller agreed, and
the
disk arrived less than a week later. No other payment was
received
in exchange for this work.
Packing, phsical description
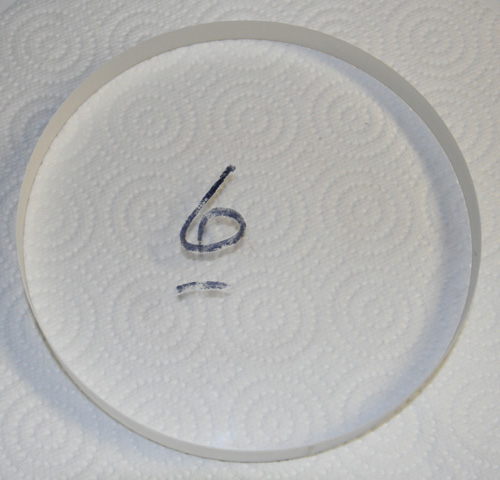
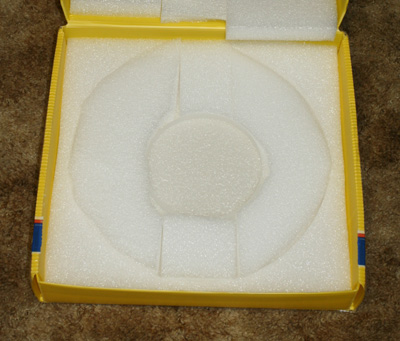
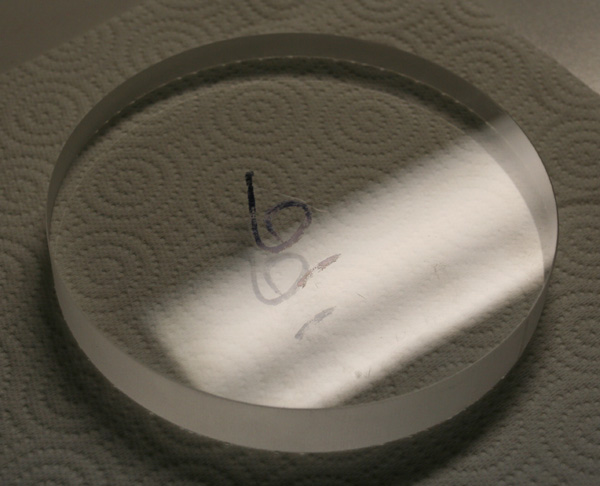
The disk was received, packed very nicely in foam in a box. A
couple
of photos of the disk are shown below, along with an image of the
package
and packing that it arrived in in excellent condition.


The disk was polished on both sides. Both sides had light
scratches and pits on the surface, but overall the disk was in very
good condition.
The edge was fairly smooth and the disk had a slight bevel to
prevent
chipping, but some texture from cutting the disk remained on the edge
in
the form of smoothed bumps.
The physical dimensions of the disk were measured with calipers and a
micrometer, and are summarized below:
Diameter - between
5.990" to 5.998"
Thickness -
between 0.8001" to 0.8018", wedge of
0.0017"
The wedge is enough that the quartz could not be used for an optical
window
without reduction of the wedge through grinding.
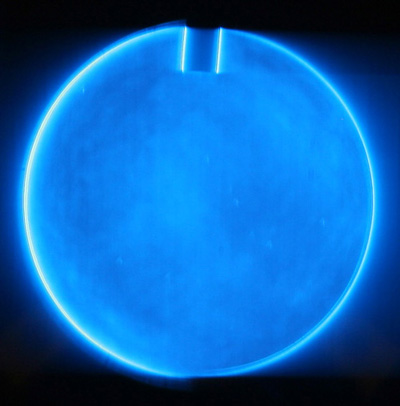
Strain Testing
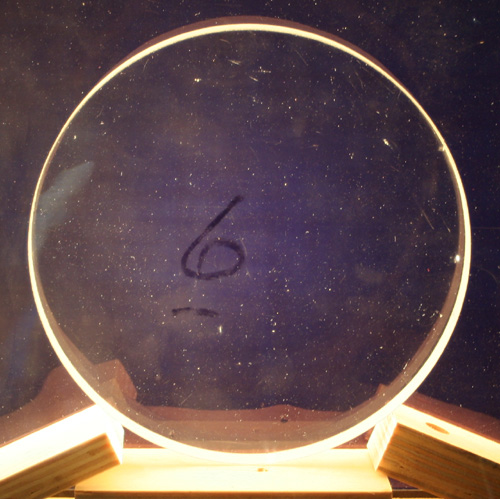
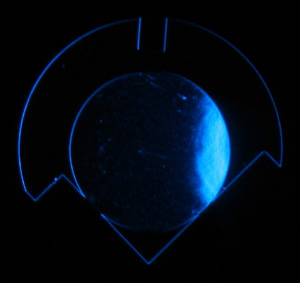
The disk was tested for strain and no
strain was detected. A
photo
of the test is shown below. Uniform darkening indicates an excellent
anneal.

Surface Flatness
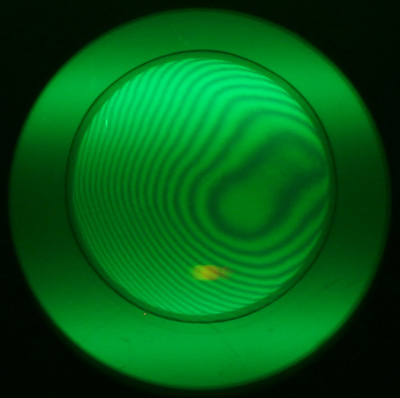
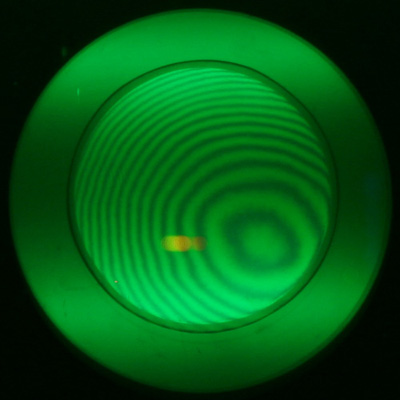
Next, the flatness of each surface was measured by placing an optical
flat
in contact with it. Both sides
were found to be significantly
convex,
on the order of about 7-8 fringes, or approximately 3.5 to 4 waves.
The
figure was also a bit irregular. These are more reasons that this
quartz
could not be used for a window in the condition it was received.
Images
of the contact interference testing using monochromatic light are shown
below
for both sides of the disk.


Transmission - collimated laser light
The first test of the quartz in transmission
was done by placing it
between
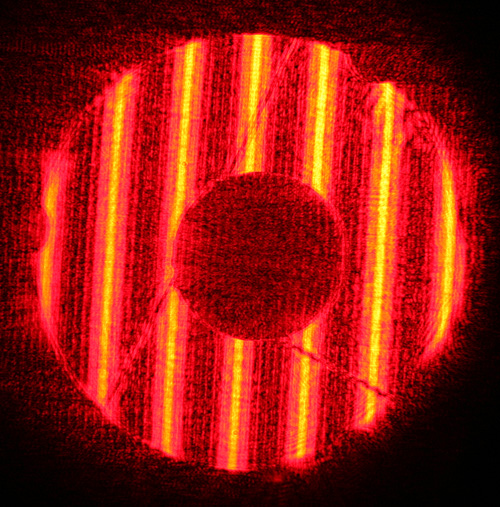
a 4.25" F/4.5 Newtonian telescope (see my telescopes page) of known
good
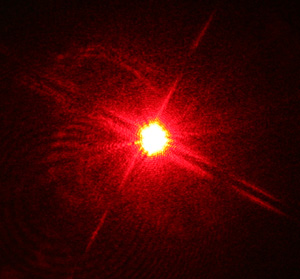
quality and a source of collimated (parallel) laser light. Below
is an image
of
the 4.25" system (only) under test showing its good correction with a
ronchi grating near the focus.

This laser light is just like light coming from a star - it is
parallel,
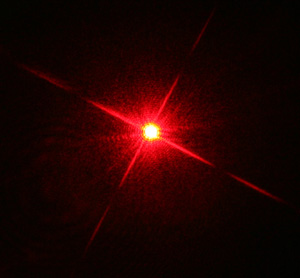
and is focused by the telescope into a star image. The image
formed
by the telescope was photographed as best I could through an eyepiece,
and then the
quartz
was introduced between the telescope and collimated light and
the star
image
photographed again. The introduction of the quartz caused a
noticeable
defocus of the image (due the convexity of the faces) and some
asymmetry
in the image (due to wedge and irregularity of the convex sides).
As this 4.25" F/4.5 is a very low-power telescope, it is not a very
tough
test for a window. Therefore, failure in this test indicates that
the quartz
was
not suitable for use in transmission without further work to flatten
and
parallelize the two faces. The focused image is shown on the left
below
without the quartz, and on the right with the quartz between the
telescope
and collimated light.


Transmission - using reference sphere
Finally, the disk was tested in transmission using a very accurate
spherical
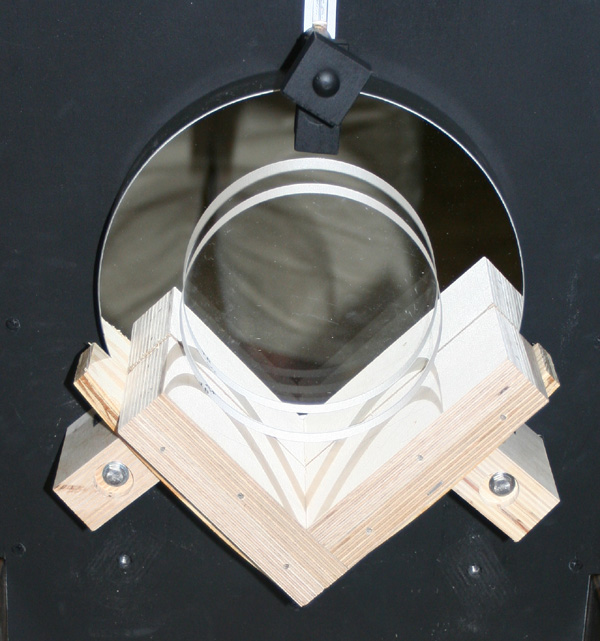
mirror with a radius of curvature of 246.5". The quartz was
positioned
in front of the sphere approximately 1" away from it. A photo of
the test setup, the
(coated) spherical mirror with the quartz sitting in front of it, is
shown
below. Thus, this constitutes a double-pass test in transmission
for
the quartz disk. The light from the test device passes through
the
quartz, bounces off the spherical mirror, and then passes through it
again
on the way back to the tester/analyzer.

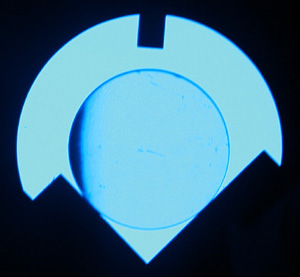
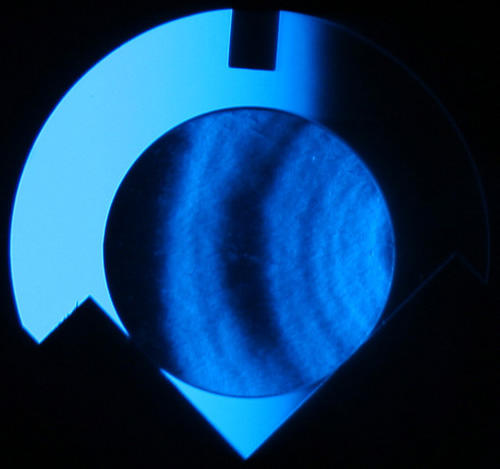
Below at left is an image of the sphere under test without the quartz
in
front of it. It shows a fairly good null. Thus, any
deviations
caused by the quartz will appear as dark or light spots when it is
placed
in front of the sphere. At right is an image of the quartz in
front
of the sphere, with the tester still positioned at the radius of
curvature
of the sphere. It is noted that one side of the quartz darkens
before
the other, indicating that the quartz has refracted the light and light
passing
through it comes to focus at a different location than the sphere.
In
this case, the radius of curvature
was shortened by approximately 2" by
the
convex faces of the quartz forming a weak lens.


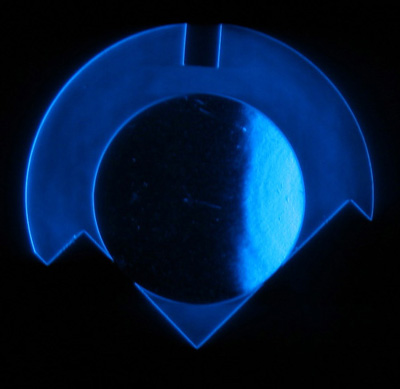
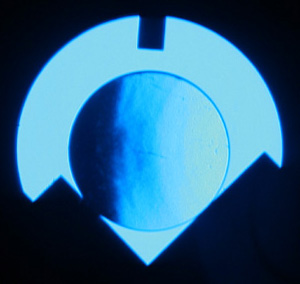
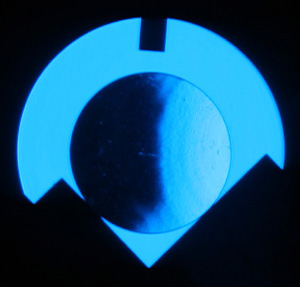
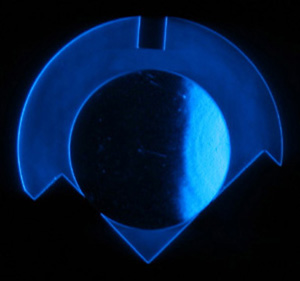
Below is a series of images taken as the knife edge is brought into the
beam,
showing some of the irregularities in the surface of the quartz disk.


By moving the knife edge toward the
spherical mirror approximately 2",
the
knife edge is close to the radius of curvature of the quartz/sphere
system,
and the surface irregularities of the quartz may be more readily seen.
The
image below shows this quite clearly. Note the semicircular
features that are
either
on the surface of the quartz or due to subtle variations in the
properties
of the glass throughout the disk. Without first de-wedging the
blank
and then figuring both sides to at minimum a figure of revolution (flat
is
best, but a figure of revolution will do), I cannot say more about the
source
of these features. I think they're on the surface, though.

I plan to de-wedge the blank and figure one side to an accurate flat in
the
future, and then figure the second side to fairly close to flat.
No idea when this will be done.
Conclusions
1) This blank would make an excellent substrate for a
flat mirror, an uncoated
optical flat (with one or two figured faces), a Newtonian primary
mirror,
or a convex Cassegrain secondary mirror.
2) While it is possible that it may work well as an optical window
after further grinding, polishing and figuring to get both sides flat
and parallel, I
could not
say for sure unless I did that work and tested it again in
transmission. I am not likely to do that - most likely I will
flatten one side or use the quartz for a Cassegrain secondary mirror.
